Pages

Showing posts with label Electrical. Show all posts

Monday, 25 February 2013

Bricks - Portico Complete

The bricklayers have finished the 2nd level of brickwork to portico. They have also left the hole I requested for the flush mount intercom! Notice the brickwork has not been rolled as the surface will be finished with a jasper render. We also noticed today that the motor colour on the garage is slightly off on the bottom left section. We will wait and see how bad it looks once the bricks have been acid washed.


Portico Brickwork Complete. Notice the hole the bricklayer left for the flush mount intercom

Slight colour variation on the Garage wall in the mortar on side closest to camera.

Ledge underneath window completed.

Monday, 18 February 2013

Insulation Installed - Last of the Cabling

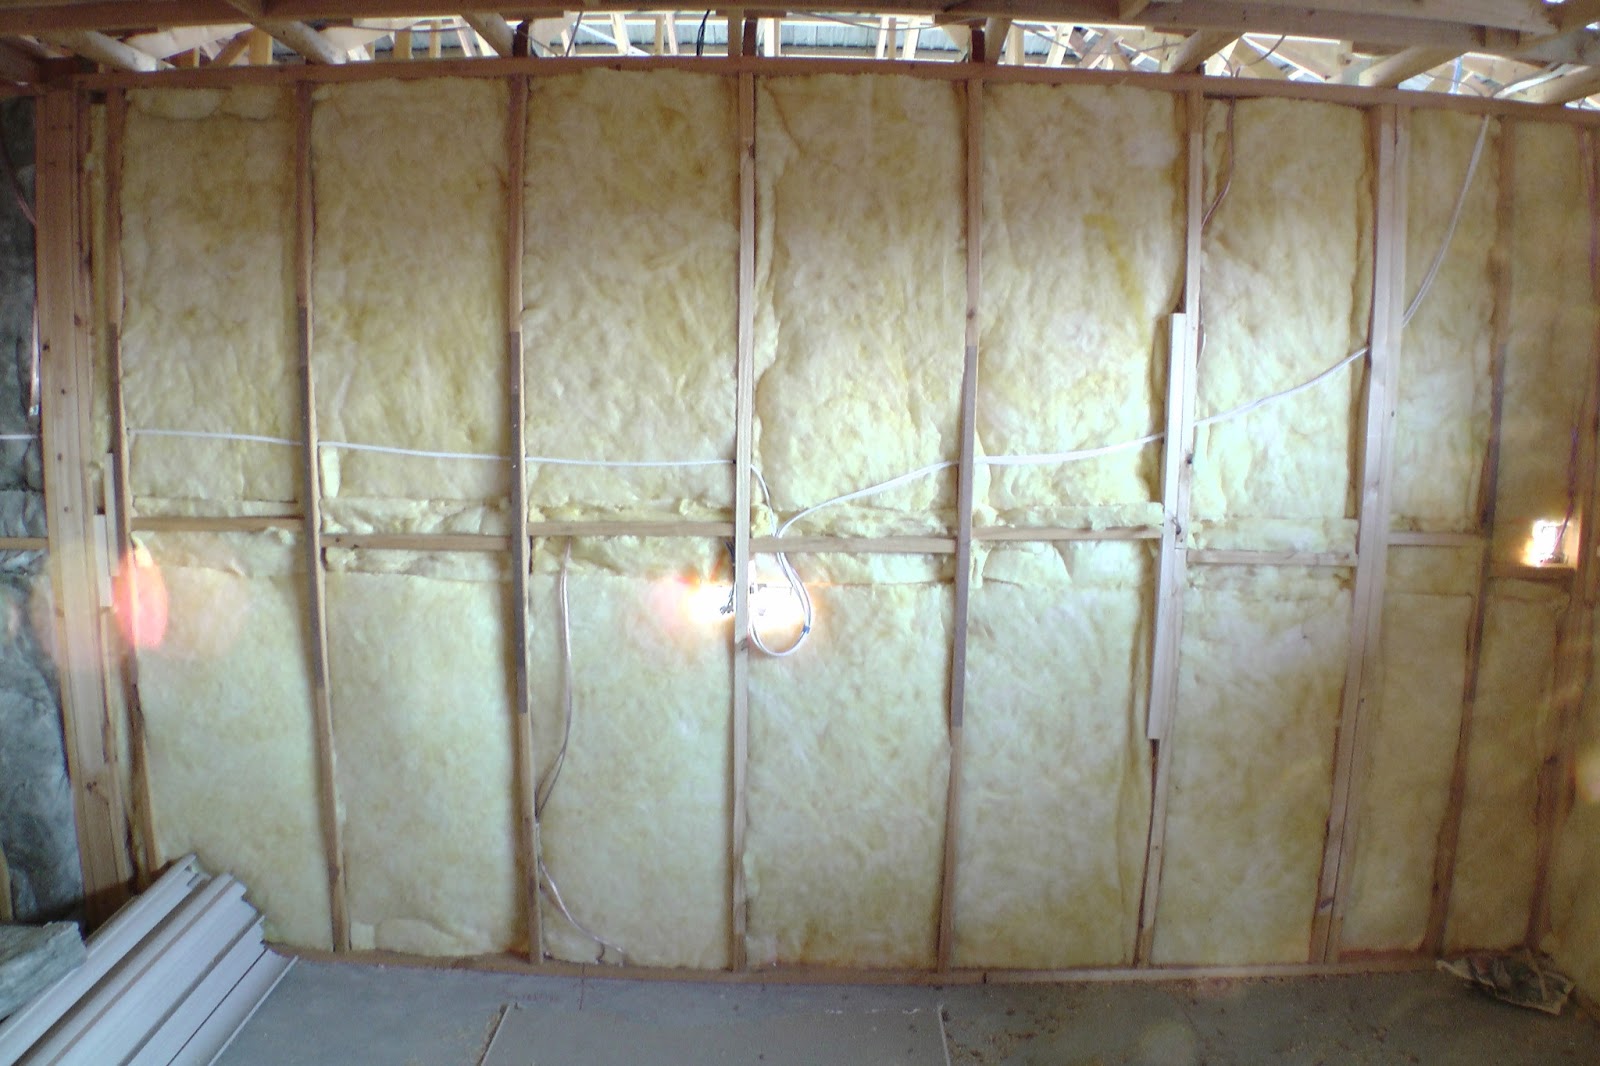
I got my video camera back! Now I can take more photos. Today the brickwork has started on the Study / Lounge walls. The insulation has also been installed thou a few batts have fallen out but I'll put them back in.

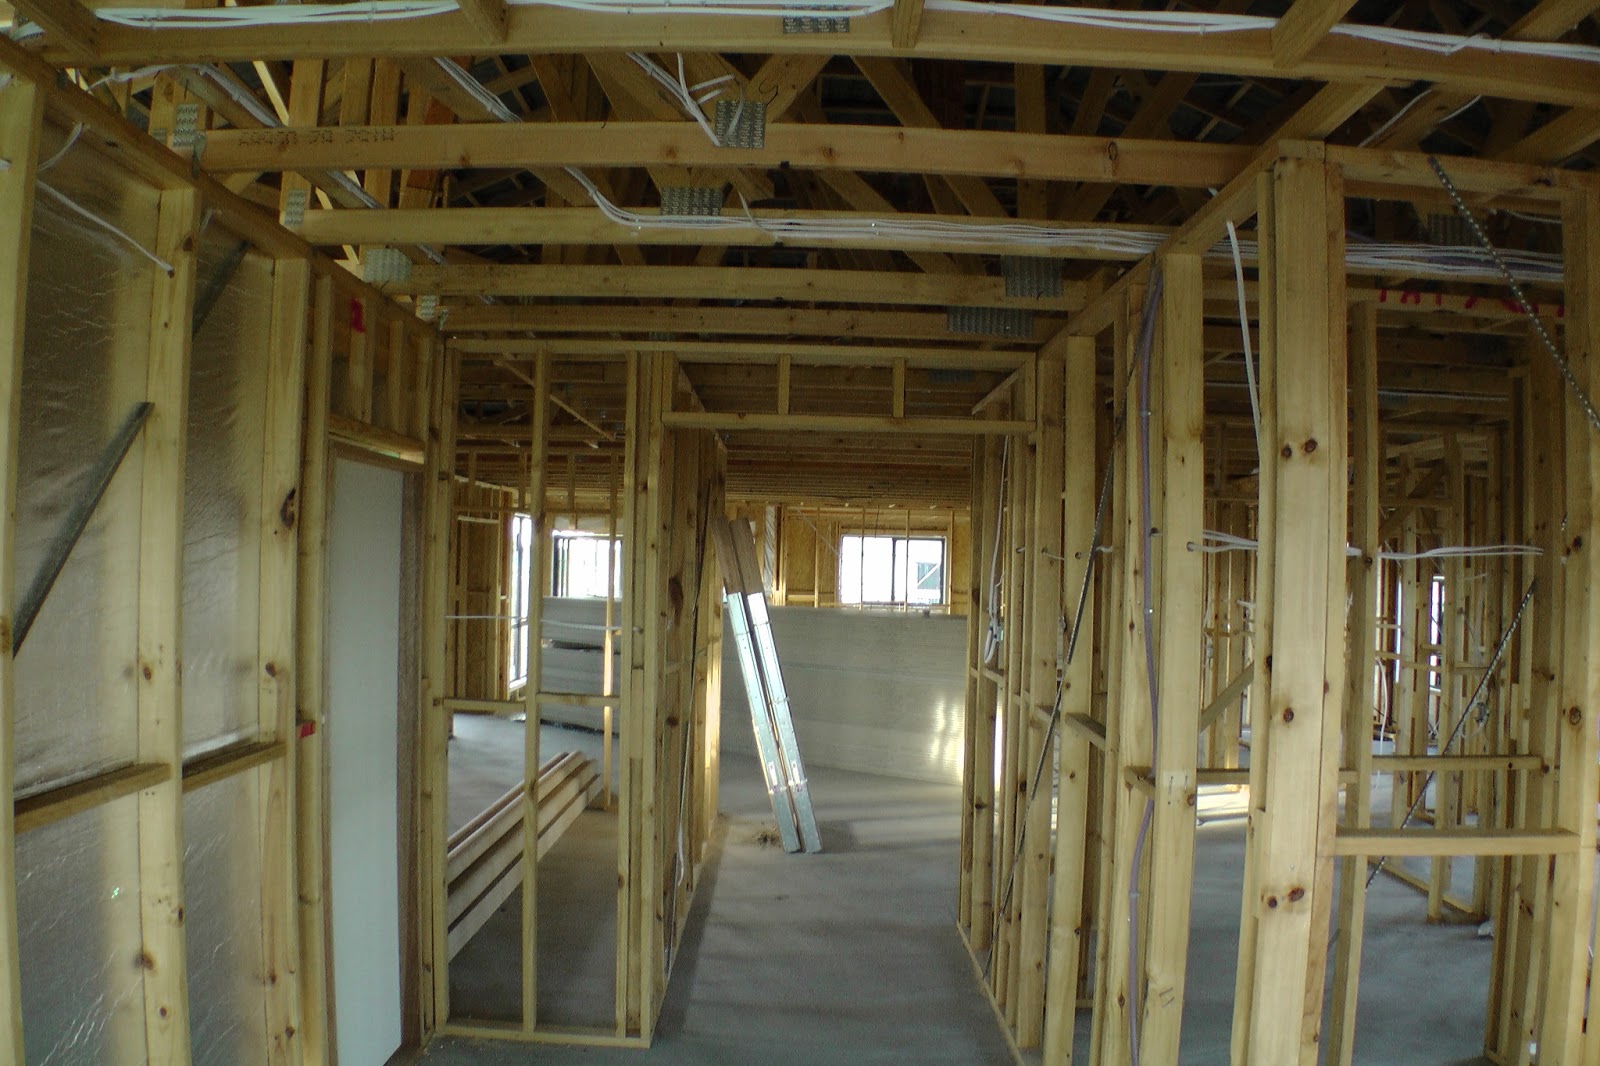
I also ran about 100 meters of antenna cable arround the house where I expect to have TVs and installed the intercom wiring for the door station, spare games room station, and extension ringer in the garage. I finished off installing the last few video cables for the home theatre (lounge room)


Porico brick work

Brickwork on Study wall

Study / Lounge brick progress

Alfresco, Study Lounge

Insulation in Entrance / Garage wall

Insulation in WIR

Insulation in Master Bedroom

Insulation in Ensuite

Insulation in Bed2

Insulation in Laundry

Insulation in Bath

Insulation in Bed3

Insulation in Bed4

Insulation in Games Room

Insulation Games looking toward Alfresco

Insulation and Cbus light switch location

Insulation in Study

Home theatre / Store Insulation

Home Theatre / Store room wall.

Home Theatre reat wall

Home Theatre Garage wall

Home Theatre front wall (looking towards kitchen)

Sunday, 17 February 2013

Electrical - Intercom, Brackets and Noggins!

I finally decided what style of Intercom I wanted and the door station style to go with it.

I ended up choosing the Aiphone intercom as it one of the most recognised systems in the world and has been around for a long time. They are Japanese made and have very good wide angle cameras upto 170° that are good at dealing with back lighting issues (e.g. silhouettes). The model I chose the JK-1MED allows for 1 door station and two room stations, one of these stations can also be replaced with a network module that allows you to access it via a PC, thou I don't really care about this. The unit also records the visitors who ring the door bell so that you can see who came when your not home. I have initially planned to have room monitor in the kitchen, and one in the games room as this should cover most of the house and one extension ringer in the garage and a bell press in the bathroom for the kids when they want/need something in the bath (its a Japanese thing :).

I did go off on a bit of a tangent as my wife is Japanese and we frequent Japan and I know that nearly everything there is cheaper and with better specifications than in AU in fact I found the same model with a wireless room receiver in Japan for $300 while the 1 door 2 room version here is $1200 and $800 if I ship it from the states and it doesn't even include wireless room module! The only catch was that it's 110v hardwired. I did come up with some plans but in the end I decided to skip the second room monitor in the games room. In total comes to about $500. For the sake of $200 and all the issues of having 110v transformers in the wall etc/etc. I couldn't be bothered.

With all that in mind I chose the flush mount door station and drew up a stencil in visio that I stuck up on the right wall of the portico so that the brick layer could brick around it. The brick layer had already started the brick work in the portico and finished at 1600mm from the ground level. The intercom door stations are supposed to be installed at 1500mm from floor level. We are planning to have a wood deck to our entrance so it is the perfect position!

I spent the most of the day installing the rest of the metal backing brackets for the data, speaker, light switches and future power points. I finished marking up the floor with a red crayon where all the data points, speaker wires, C-Bus light switches and future GPOs are to go so that I can find them once the plastering has been done.

The brick layer also decided to visit the site today to show his wife around so that she can see his handy work and also as they are thinking about building so he was showing her some floor plans he's worked on. We had a bit of a chat about the house and the intercom he had no issues with making a space for it. We also had a chat about the video camera, he said he would have brought it down if he knew I was there today.It

I finished up the day with installing all the noggins for the toilet roll holders, towel rails and TVs. It took quiet a while to do this. I cleaned up all the mess in the back half of the house before I couldn't be bothered doing anymore at 1AM.


Aiphone JK-DVF - Flush mount intercom door station

Aiphone JK-1MED - Colour recording room station


Saturday, 16 February 2013

Electrical - Data Point Locations

This morning we went off to Reece to have a look at heated towel rails. In the ensuite we only have one wall that we can put a towel rail on. This space is about 600mm wide so the maximum width towel rail we could really install would be about 500mm wide. I wanted to find a towel rail that would fit in these measurements but also have the same style but only wider for the bathroom. I really wanted to sort this out today as I wanted to put in the noggins this weekend for all the TV's, toilet roll holders, towel rails etc. We ended up settling on the Milan Hydrotherm. They are apparently very energy efficient as they use heated water rather than heated coils to heat the rail. They also have an option to add extra feet bits at the bottom of the rail to conceal the cabling rather than the tradition plug in style. See photos below!


I then spent the rest of the day at the house double checking and triple checking that all the data points have been installed where they are supposed to be. I did the same for all the C-Bus light switches and realised that I had missed the switches for the ensuite light and ensuite toilet light! I ran these and had only 20cm spare out of my 350m box now how lucky is that!

I installed about half the the metal backing brackets for the data and future power points and marked off the floor where the data/tv/hdmi/speaker/future gpos are. I ended up finishing at about midnight so I will have to come back tomorrow, I'm well and truly over the cabling now! haha.


Hydrotherm Milan Heated Towel Wall Rail 1030mm x 500mm for Ensuite

Hydrotherm Milan Heated Towel Wall Rail 1030mm x 800mm for Bathroom

Sunday, 10 February 2013

Electrical - C-Bus Cabling Installed

It was another long day with installing the C-Bus cabling, but its all in now. I got most of the home theatre speaker cabling in as well, but fell short on the last of the AV cables. I didn't get a chance to install the metal brackets or mark the floor either but I can do this during the week after work.

I thought I took a whole heap of photos of the cabling but apparently I didn't so this is all I have below.

I did a clean up as well because of all the holes etc that were drilled it made a big mess.


Store room in Study to be Theatre Rack

Catenary wires

Living Room.

Living room looking towards bath.

Games, bit of cabling here for TVs

Few data cables near entrance

Saturday, 9 February 2013

Electrical - Data Cabling Installed

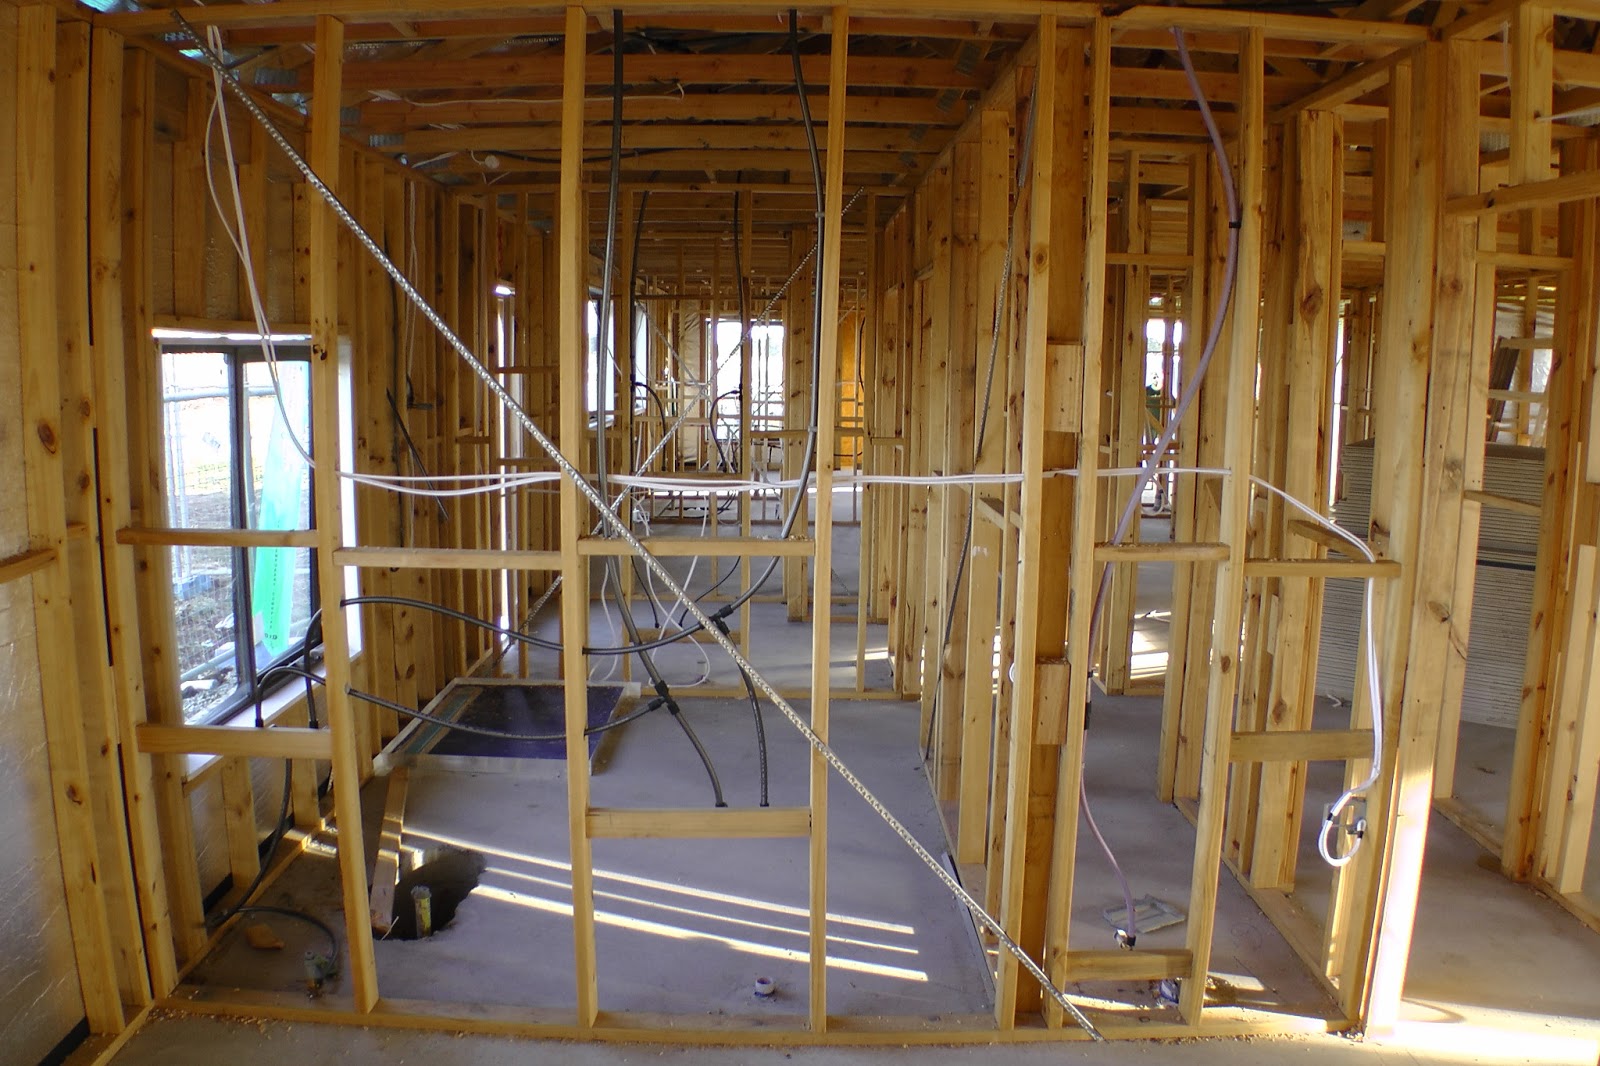
It was a long day today again, finished at 2AM again! but we finished running in all the cat6 cabling. It was much more time consuming than first through but all 88 cat6 cables have been run, just a bit of tidy up to do tomorrow.

Tomorrow's plans are to install all the C-Bus cabling, Theater Cabling and hopefully the metal backing brackets and mark of the floor.

Friday, 8 February 2013

Electrical - Completed, Catenary Wire Installed

Electrical rough in was completed today, all the scrap cabling has been removed which means this weekend installing all the data cabling and c-bus is a go!
 
I took half the day off and picked up all the dyna bolts, cable tightners, hole cutters, etc needed to install everything this weekend and packed the car. I did not want to find that I had to make trips back and forward from electrical stores/Bunnings so I purchased a bit extra with the throught of returning any surplus.

Myself and some friends got started friday night and installed all the catenary wires that are to support the 88 network cables. We will need the catenary wires to support the network cabling as the weight of the all cables will be to much and it will be impossible to clip that many cables. So we ran 6 individual catenary runs which covered most of the house and where there was more than 6 cables on a run. Some runs had 2 catenary runs side by side as the most you can have on a single cat cable is 24 and we had in some cases 36 running in one direction!

It took a lot of time adding the clamps and tighting the turn buckels but it will make a good foundation. I sourced cat6 cabling with specs that allow it to be cabled tied as this will be a big timer saver rather than velcro ties. It was about 2am! by the time we finished up and we were totally exhausted. But it I'm glad we didn't start Saturday as it would have ment that there was no way to be completed before Monday. It's going to be a long weekend! Sorry no photos on the catenary wiring as I was just to tired at the end and wanted to go home.


Garage Side. Sub Board, C-Bus Panel (will be light switches until after handover) and FFTH

Close up of FFTH, C-Bus Subboard, and Sub Board locations

Looking into Study and Store (to be Theatre Rack)

Entrace

Study - Store

Theatre looking towards Kitchen / Pantry

Bed 3 looking into Bath/WC

Laundry

Thursday, 7 February 2013

Electrical - Nearly Complete

I went out on site this morning to meet the sparkies. I wanted to make sure that they don't run electrical cabling where I marked and wanted to see if they could move one TV  point which they said was no problem. We also had a chat about the location of where the electrical Sub-board is going and location for C-Bus board, they had no problem with any of this.

I also had a chat to the SS today about running a "few" data cables and home theatre wiring which he had no problems with! Woohoo.

When we visited after work 95% of the electrical was completed. They didn't install power points where I didn't want them! (Good!). The rear laundry door has bee installed and garage side door has been installed.

I also picked up all the AV and speaker cables tonight so we are good to go for the weekend to install as the sparkies look like they will be finished tomorrow.


Entrance Wall Holes Left to Right: FTTH, C-Bus Board Location, Sub-Board

Lots of 240v Home run cabling for C-Bus

Master Bed Room Electrical Done

Ensuite Cabling

Kitchen

Living Room

Games looking into Living

Bed4/Games

Bathroom

Alfresco Pier Cabling. Note how the Gas/Water are on different sites.

New Laundry Door!!

Garage Entry Door (will have to change to solid later)